
Kawasaki ZX10R Racing Baffles Instructions
Steps for disassembly, packing and reassembly of 2006-2007 Kawasaki ZX10R slip-ons: Read instructions fully before starting. Give yourself time to complete; you don’t want to damage anything on your bike. We do not guarantee proper installation. Install at your own risk. Revised 7/30/07.
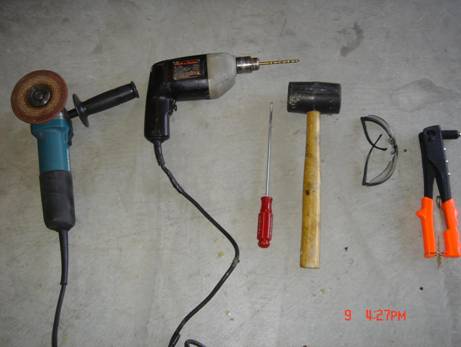
Tools needed for completion:
- 3/16 Titanium drill bit (make it 2 just incase you break one)
- Corded drill (most cordless do not provide enough power)
- Allen wrenches
- Hammer, preferably a rubber mallet
- Safety glasses
- Dremel w/ cutting bit or grinder
- Screw drive
- Misc. socket sizes
- Utility knife
- Broom Handle
*Note: Before you start be sure to remember which end cap goes on which side.
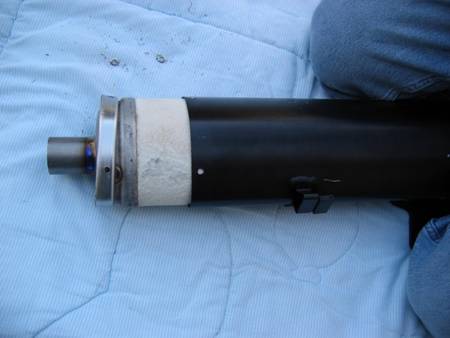
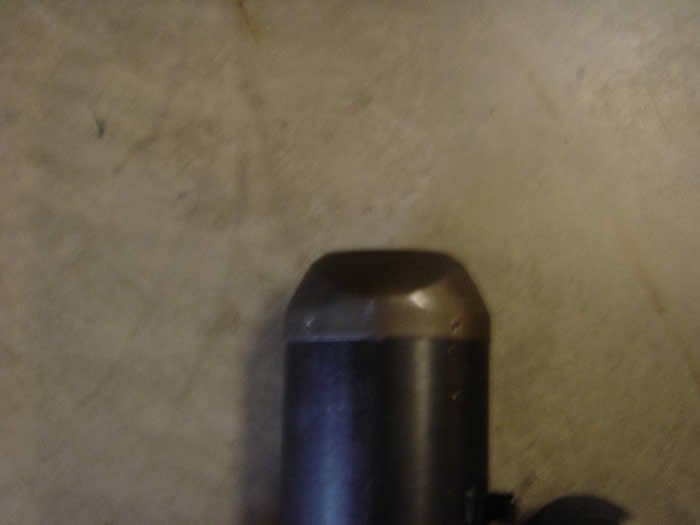
1. Remove slip-ons from bike and place on bench with towel or mat to prevent scratches. A vise is not needed (Seat and rear side panels must be removed to take off mufflers. Refer to owners manual for proper instructions if need).
2. Remove heat shields from slip-ons.
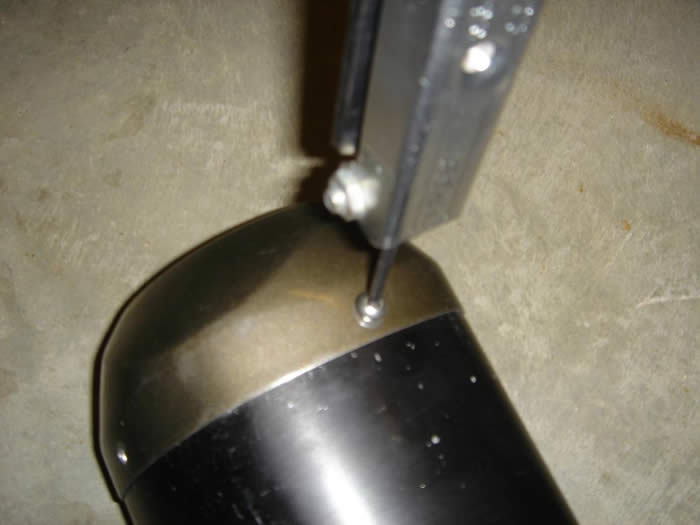
3. Using sharp 3/16" bit, drill out heads of 4 rivets on tail end of can of both mufflers and push them through using awl, punch, or screwdriver then remove cap using hands. Remove exhaust cover from end of muffler.
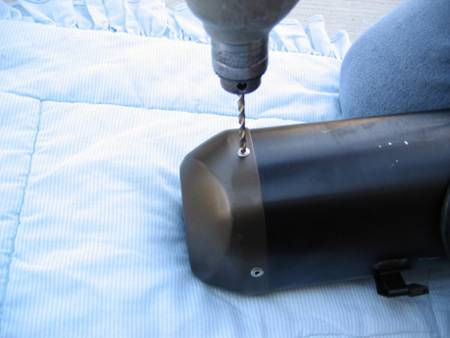
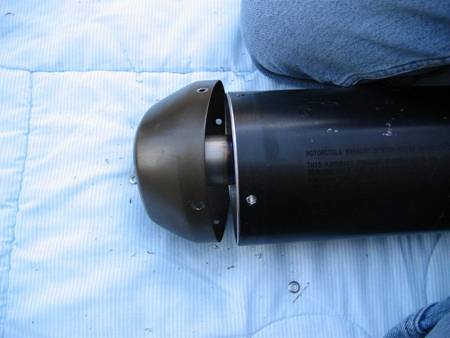
4. Using a broom handle or small piece of wood and push OEM Baffle out of muffler can. Pull out completely by hand.
4. Using a utility knife, cut the top layer of the OEM packing
material. Don’t push down to hard, you don’t want to cut the second layer.
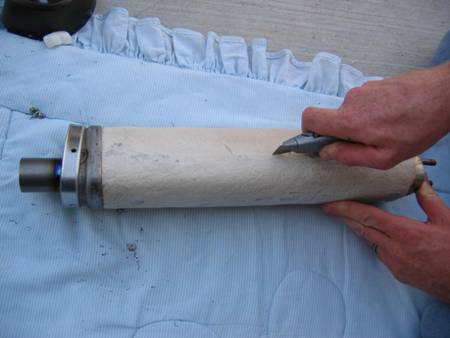
5. Remove the OEM packing material. Save the second layer for later use. First layer can be thrown away.

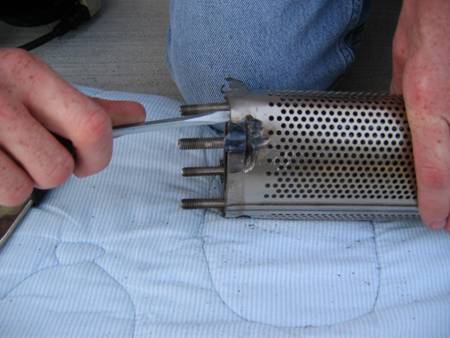
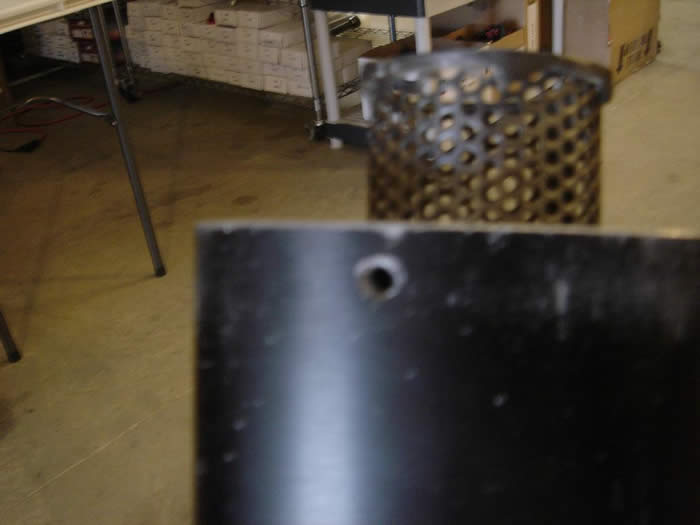
6. Grab the OEM Baffle. Using a grinder or a Dremmal tool, cut the 4 welds completely off. Try not to damage the bracket underneath. Wear your safety glass.
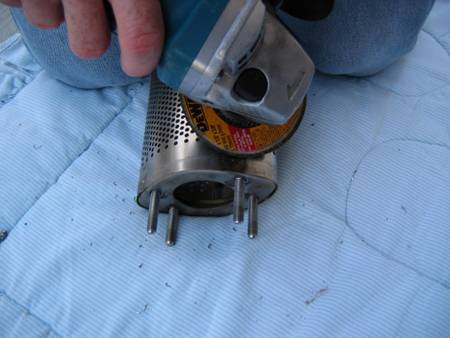
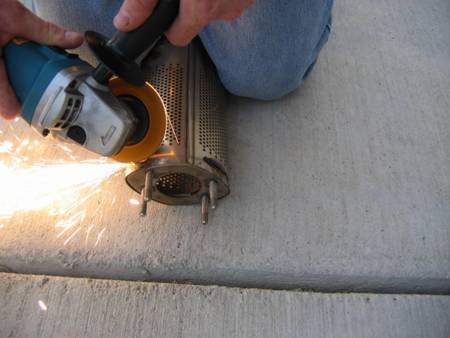
7. Using a flat head screw driver, pry the welds. Remove the bracket from the baffle.
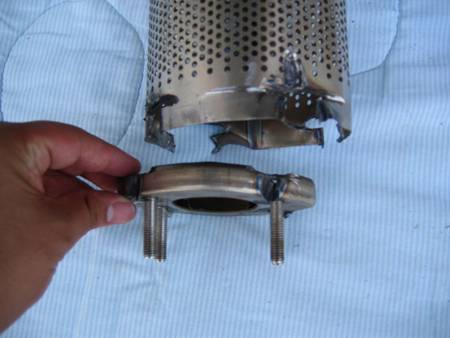
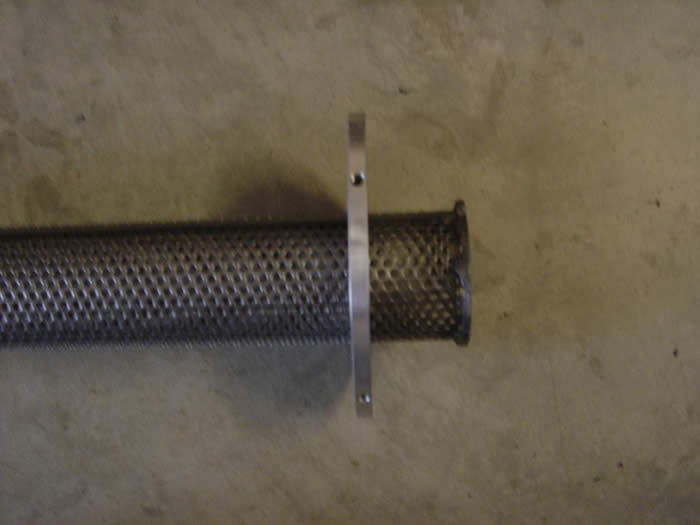
8. Install bracket back into muffler can, use nut to hold bracket in temporarily.
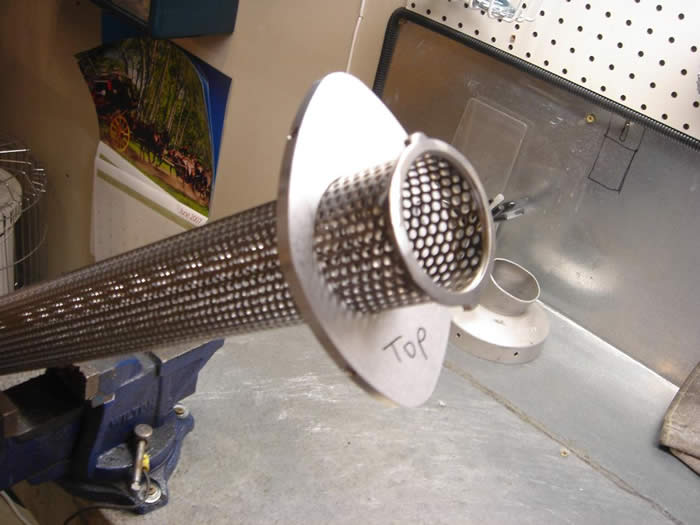
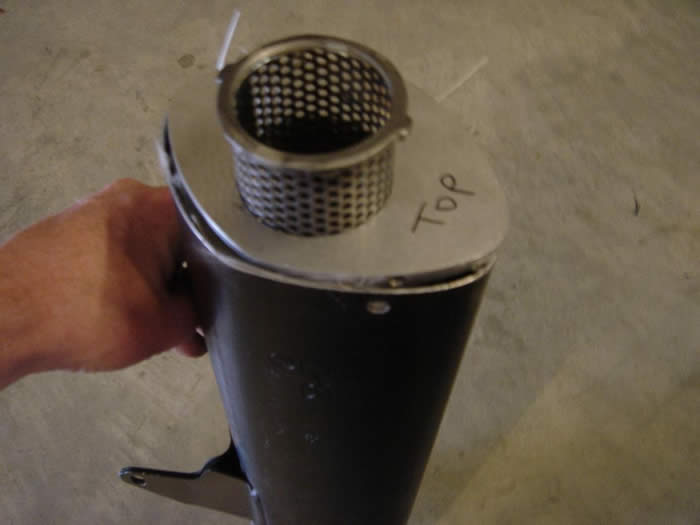
9. Install bracket on baffle 1.75 inches from the tip as seen in photo below. The set has a Left and Right side. The side with the letter written on it represents the top of the plate. The top goes towards the tip.
10. Next wrap the baffle in the OEM packing. Use teflon tape to hold packing in place.
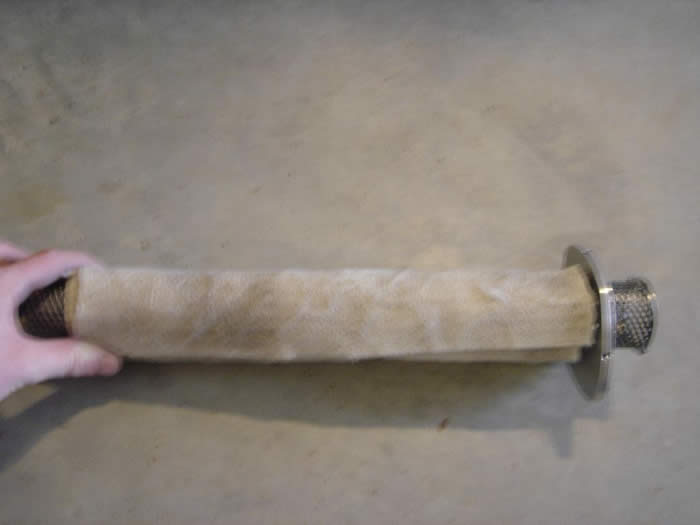
11. Next wrap baffle with Vance and Hines packing.
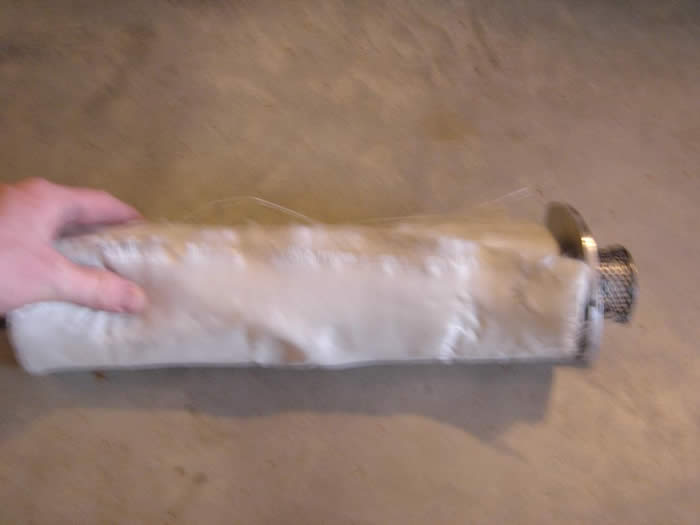
12. Use teflon tape to hold packing in place.
Note: the end of the baffle will not be covered with fiber glass packing.
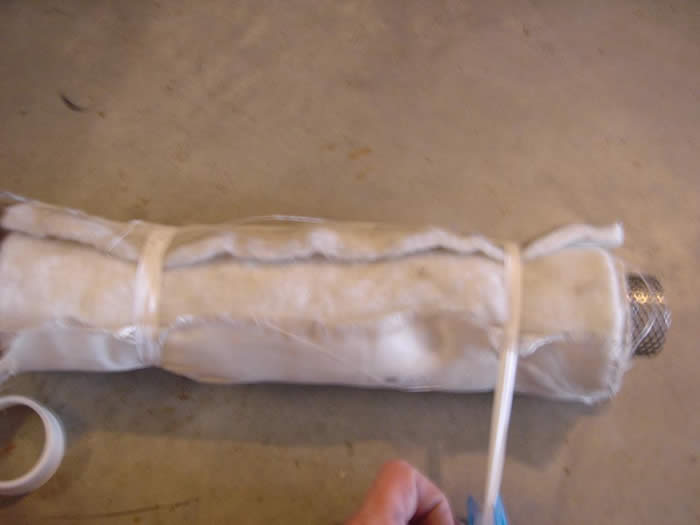
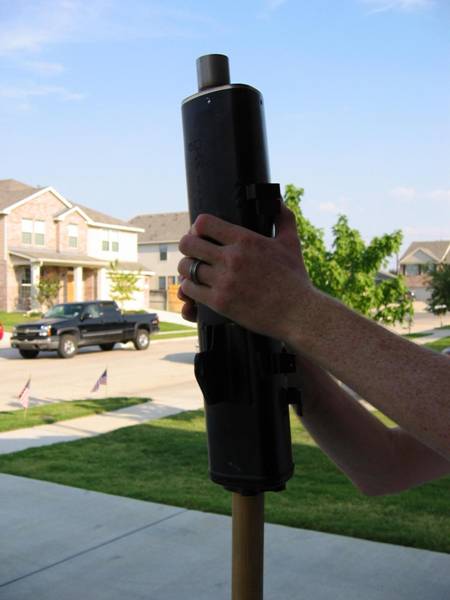
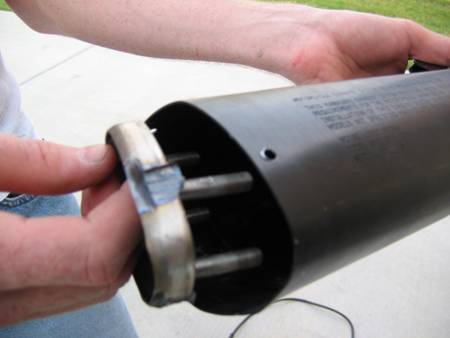
13. Install wrapped baffle into can as seen in photo below. Just be sure you install the correct side baffle in the correct muffler can.
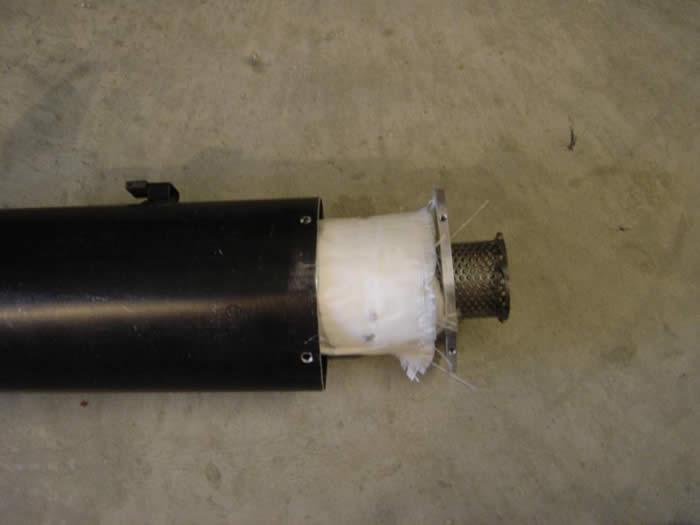
14. Slide plate down and align the screw holes.
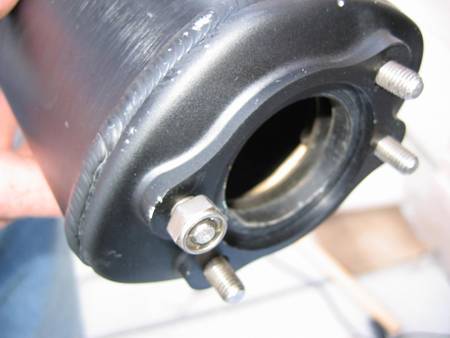
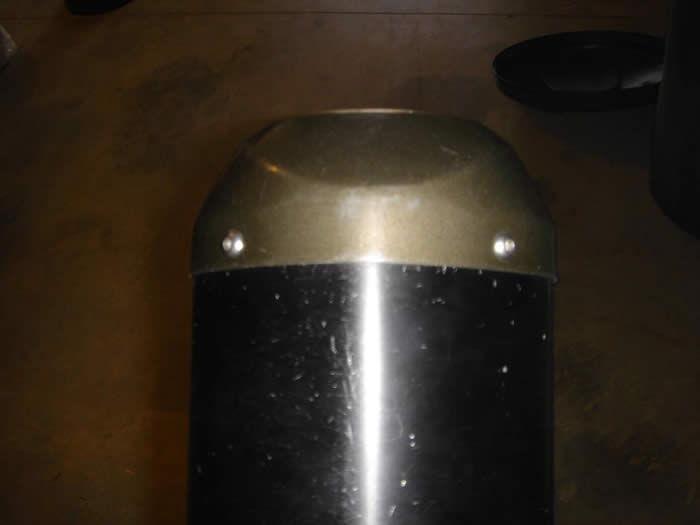
15. Install the end cap.
16. Install screws.Be sure to fully tighten, but do not strip the holes.
17. Install slip-ons on bike and remember that they may smoke and/or smell until they have gotten hot a couple of times.
*Warning, do not stand behind bike when you start it for the first time after baffles are installed. Small pieces of fiberglass packing material will be ejected.