A&R Motorsports
2004 - 2006 Yamaha R1 Racing Baffles Installation Directions
Steps for disassembing, packing and reassembing of Yamaha R1 2004 – 2006 slip-ons: Read instructions fully before starting. Give yourself time to complete; you don’t want to damage anything on your bike. We do not guarantee proper installation. Install at your own risk.
Tools needed for completion:
- 3/16 Titanium drill bit (make it 2 just in case you break one)
- Corded drill (most cordless do not provide enough power)
- Rivet gun
- Hammer, preferably a rubber mallet
- Safety glasses
- Dremel w/ cutting bit or grinder
- Screw driver
- Misc. socket sizes
- Allen Wrenches

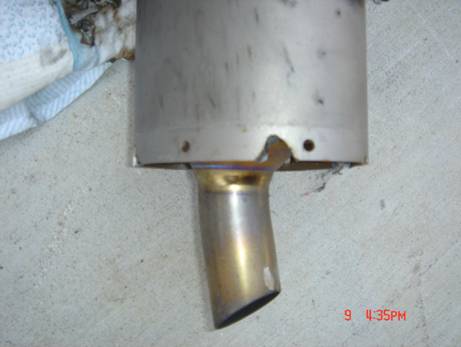
1. Remove slip-ons from bike and place on bench with towel or mat to prevent scratches. A vise is not needed (Seat and rear side panels must be removed to take off mufflers. Refer to owners manual for proper instructions if need).
2. Remove heat shields from slip-ons.
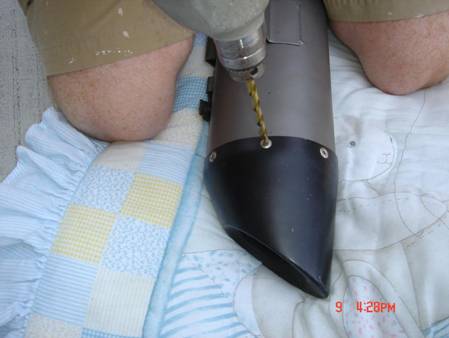
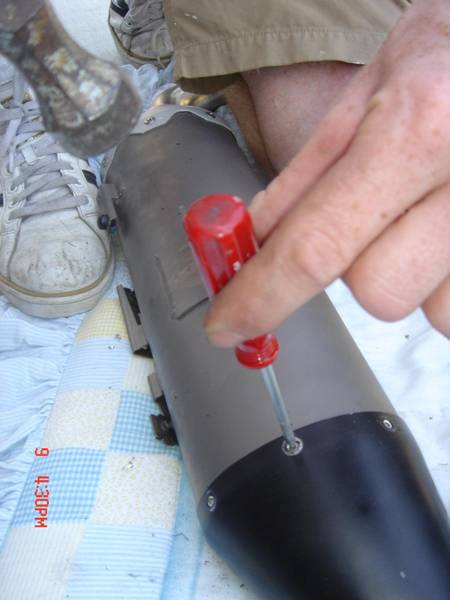
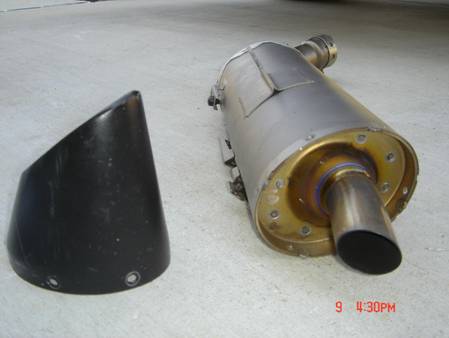
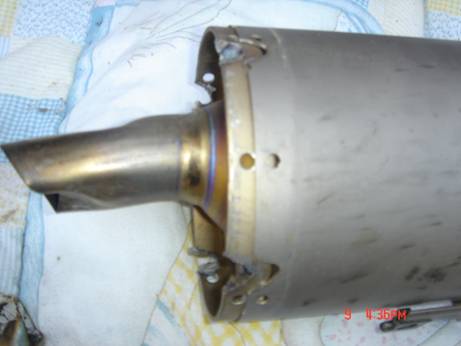
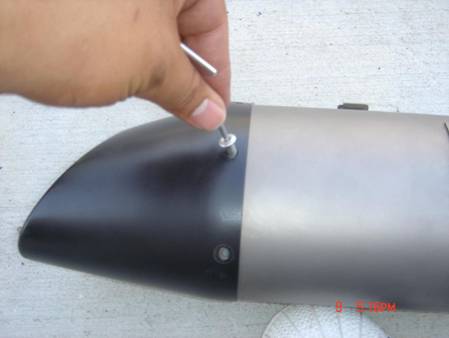
3. Using sharp 3/16" bit, drill out heads of 6 rivets on tail end of can of both mufflers and push them through using awl, punch, or screwdriver then remove cap using hands. Remove black exhaust cover from end of muffler.
*Before removing end cap it is a good idea to draw a circle with a pencil around the muffler for a reference line. This will keep you from cutting to far down when removing weld marks in the future step.
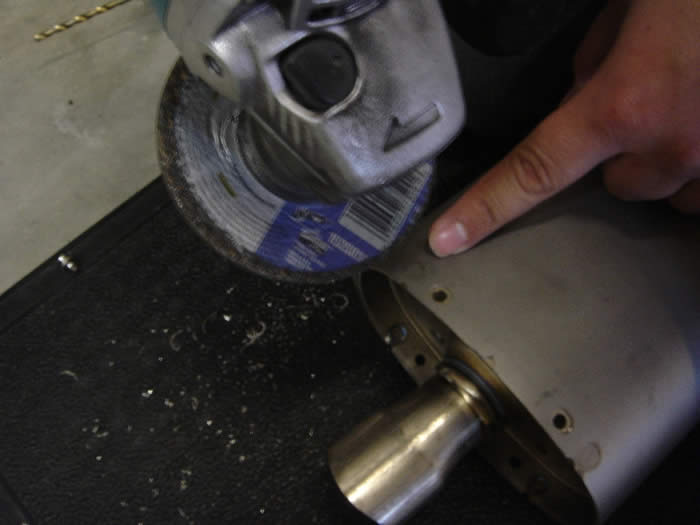
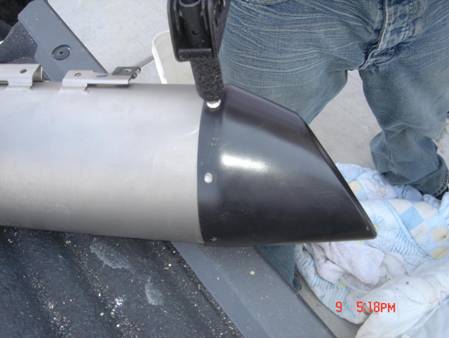
4. Looking at back end of muffler, find the factory weld marks. By using a drill, Dremel or Grinder, cut of factory welds, but be careful not to cut to far down and damage the muffler can. Use your black muffler cap as a guide on how far down to cut.
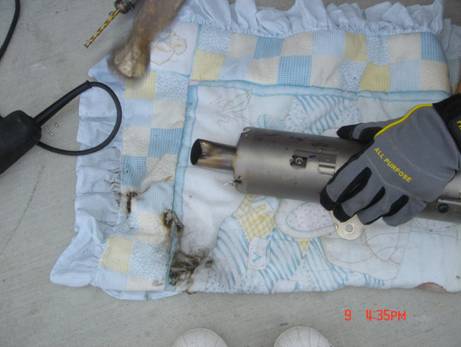
5. While holding muffler can, use a rubber mallet and lightly hit the tip to help loosen the factory muffler insert. If baffle does not loosen make sure you have cut out the welds all the way. A flat file may be used to break the bond.
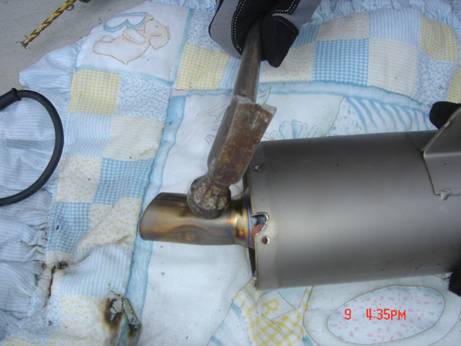
6. Use punch or screwdriver facing end at angle and tap baffle out using holes where spot welds were, once baffle moves out a little use awl in rivet holes to lever it out then pull remainder by hand.

7. You can test fit new baffle and put cap on to check fit at this time.
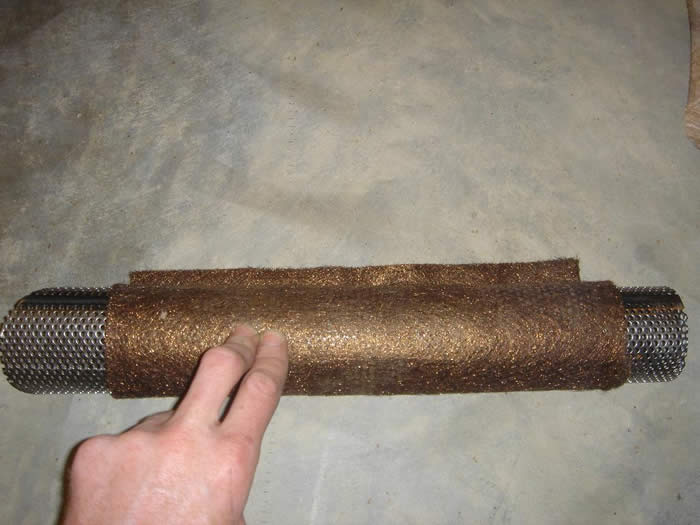
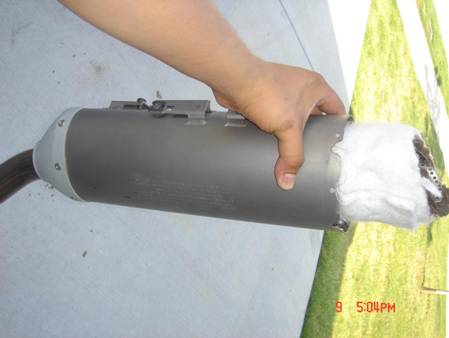
8. Unwrap packing and copper wool from stock baffle and wrap copper first on new baffle.

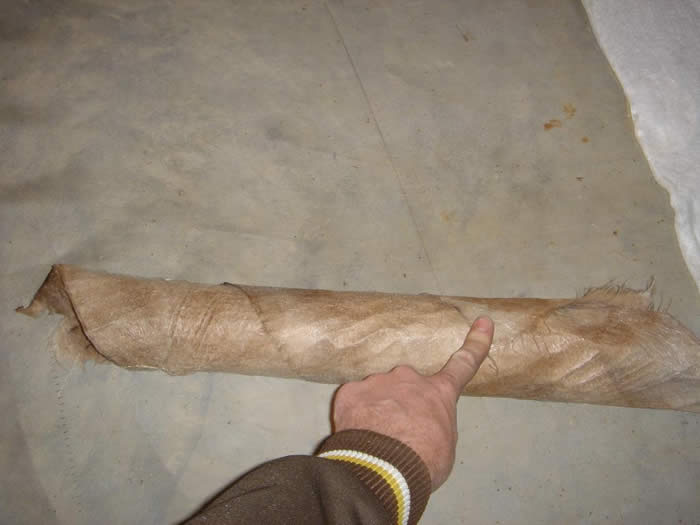
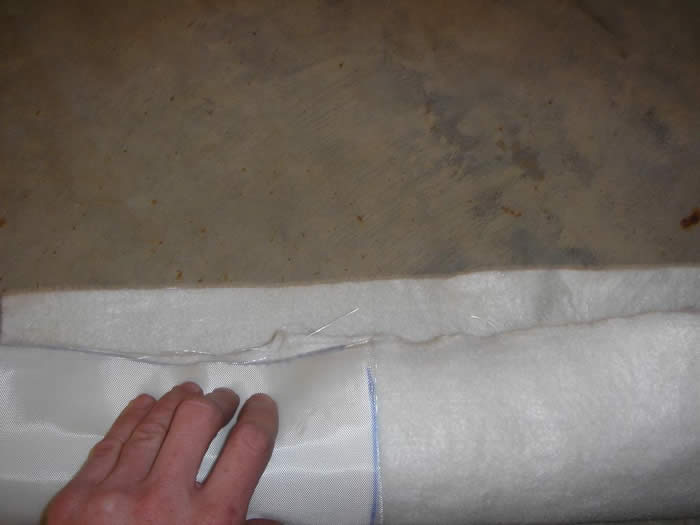
9. Wrap thin OEM fiberglass wrap from original baffle around new baffle. Wrap in an angle to cover entire baffle and packing and secure with Teflon Tape.

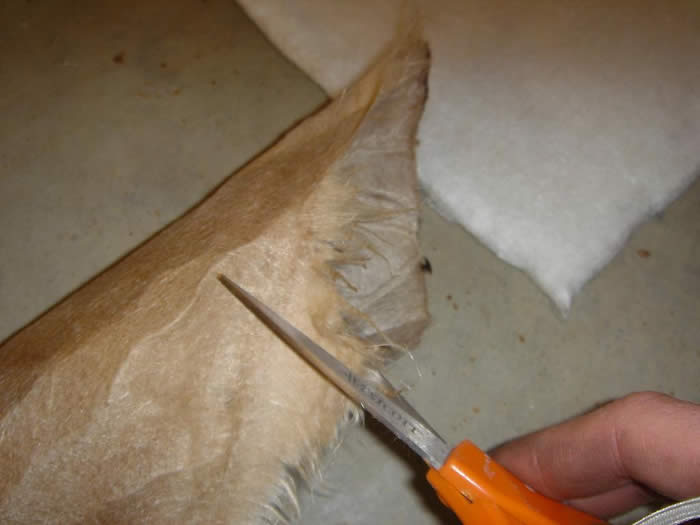
9a. Trim with scissors to match the shape of the baffle.
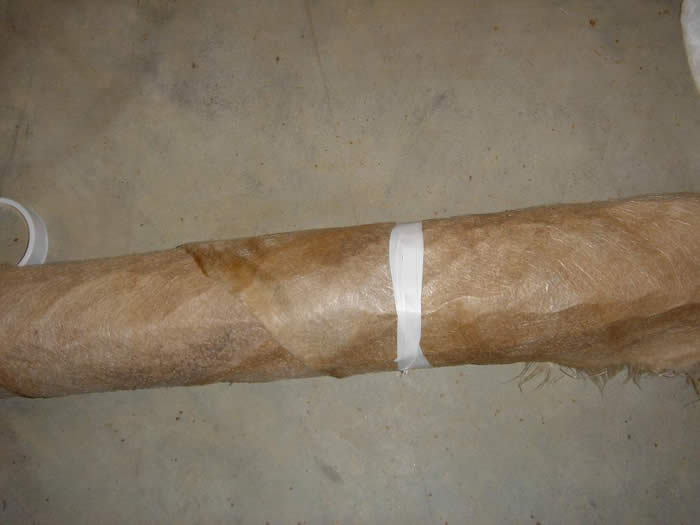
10. Next use new Vance and Hines packing around new baffle. (Wrap Long ways to cover upper part of baffle). Use Teflon Tape to hold packing material in place.
*Not, part that looks like nylon is really fiberglass mesh, this goes on the outside.
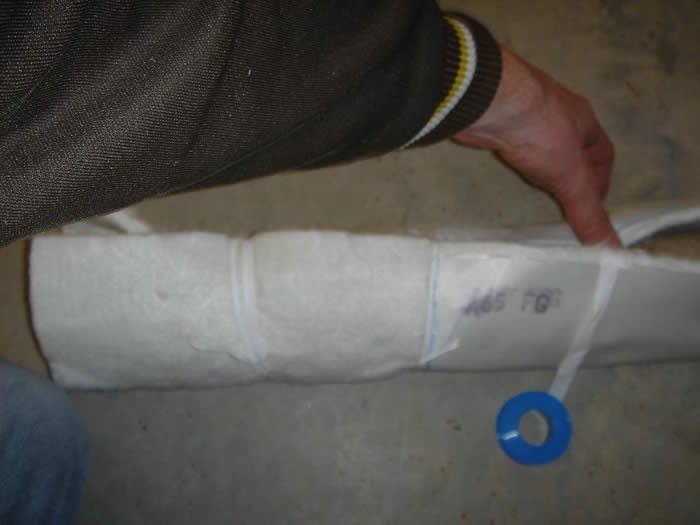
10a. Use scissor to trim packing to match the shape of the baffle.
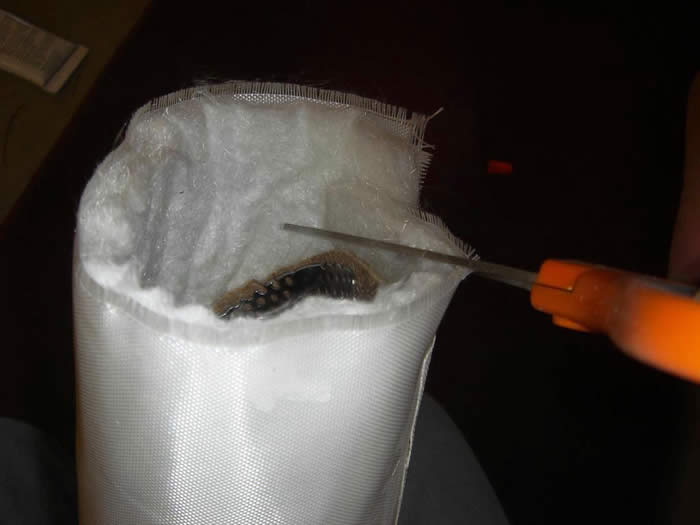
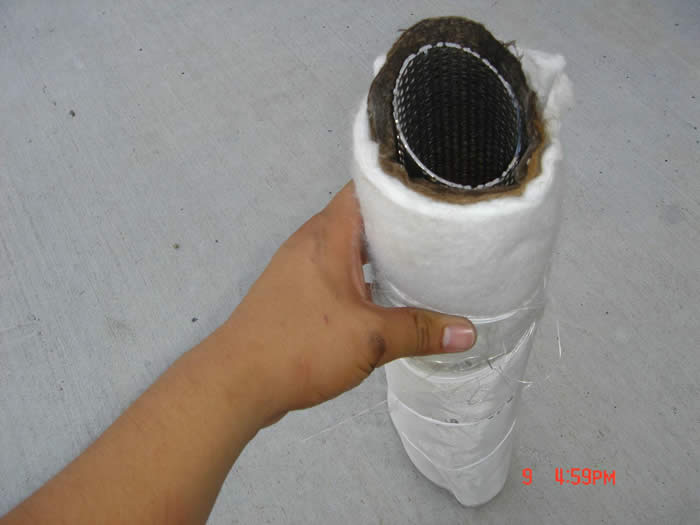
11. Insert new wrapped baffle into sleeve. Be sure you place the baffle with the correct angle in the proper side (Meaning one way for right muffler, one way for left muffler).

12. Install end cap and use fingers to align core with cap as you push it down, core must be on outside of stock outlet on cap (Make sure there is no packing material hanging off the angled end, trim with scissor if necessary.
13. Using supplied rivets and your rivet gun secure cap.
*When using the rivet gun, do not use fast, hard squeezes on the trigger. Instead make short, smooth squeezes to insure a tight closure. With the rivet gun still connected to the rivet, move the rivet gun side to side to verify that the rivet is tightly in place before the final squeeze.
14. Install slip-ons on bike and remember that they may smoke and/or smell until they have gotten hot a couple of times.
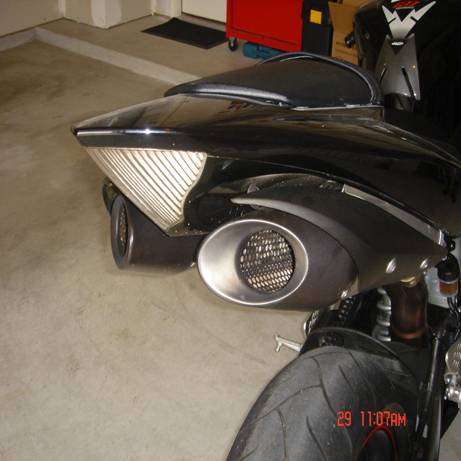
*Warning, do not stand behind bike when you start it for the first time after baffles are installed. Small pieces of fiberglass packing material will be ejected.