Instructions for HID Kit for 2009 Yamaha R1
Steps for installing HID Kit for your 2009 Yamaha R1. Please read directions fully before starting. Plan for a weekend project. Normal completion time is 2 hours. We recommend professional installation. We do not Guarantee proper installation. Install at your own risk.
Please email or call us with any questions or concerns that may arise during the install process, we are here to help.
Tools Needed:
Screw drivers
Allen Wrenches
Pliers
Test light or multi-meter
Drill and drill bits
Razor
Towel or blanket to lay parts on
A Friend
2. Using a 10mm socket, remove both mirrors.
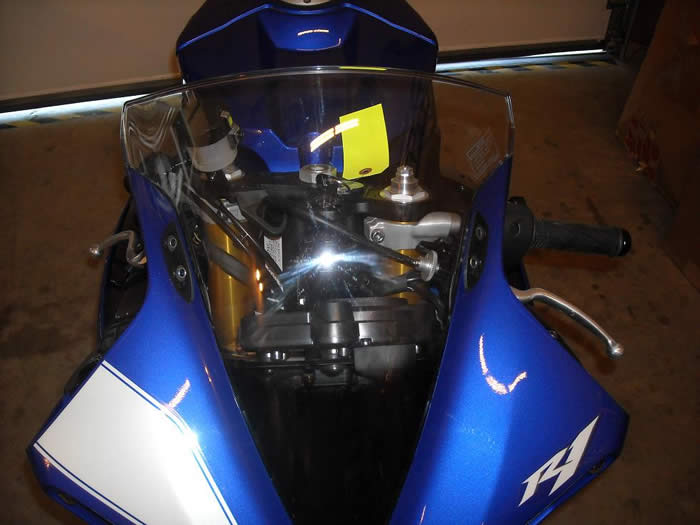
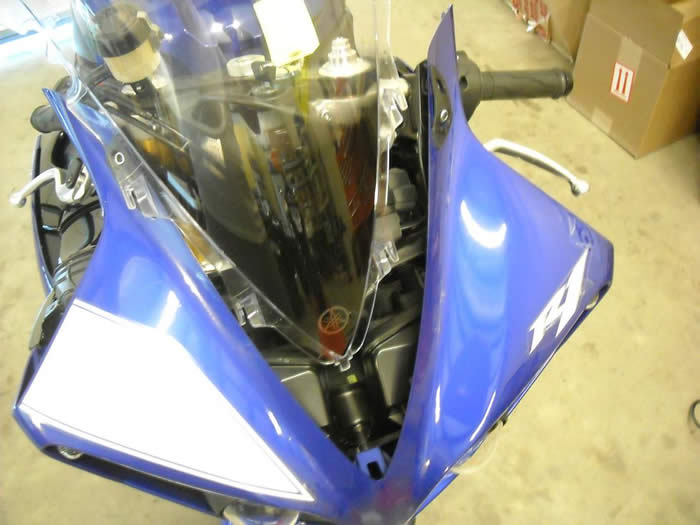
3. Remove windscreen.
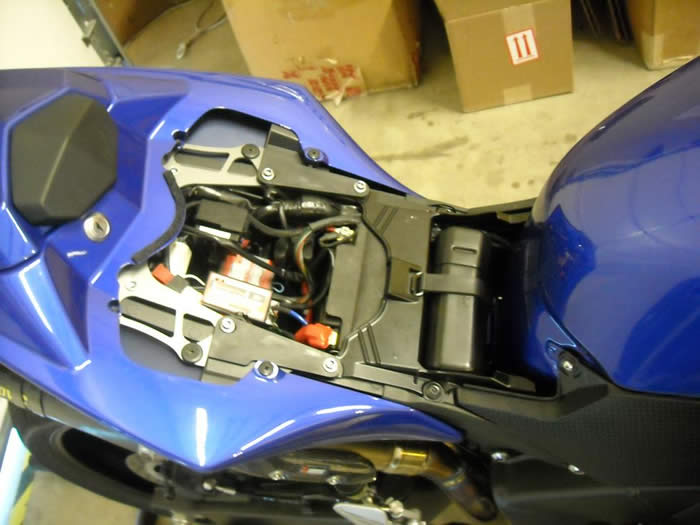
4. Remove seat.
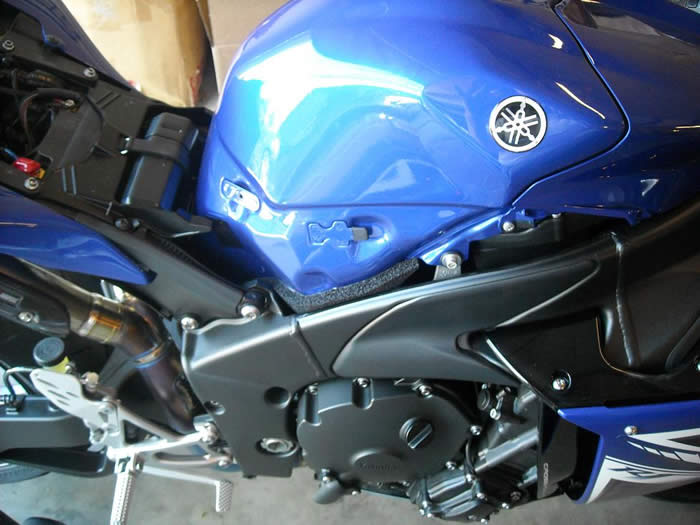
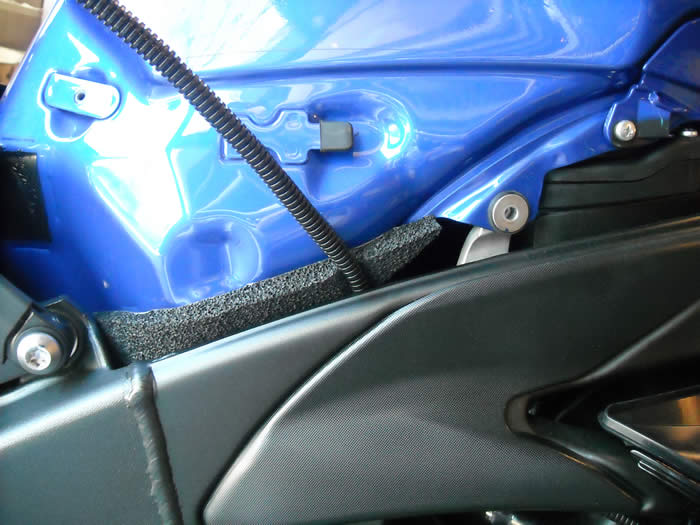
5. Remove both left and ride fuel tank side covers. See image below.
6. Remove 3 bolts from fuel tank and prop up.
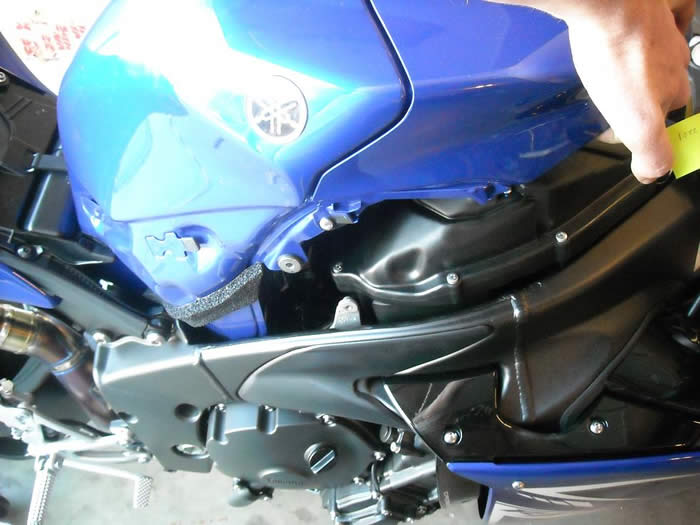
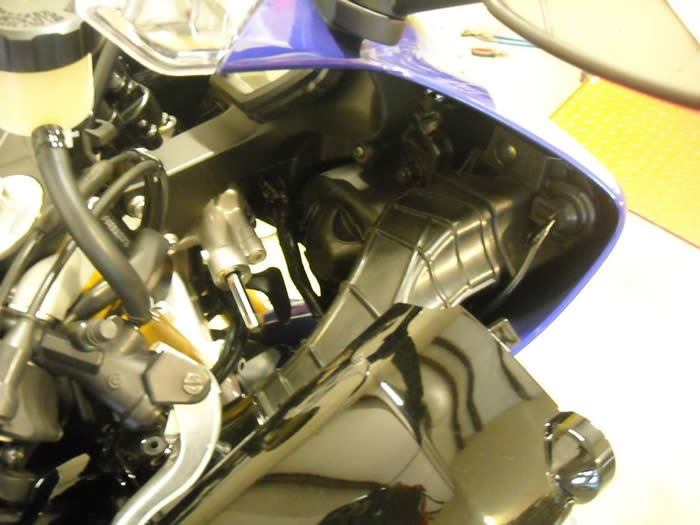
7. Remove upper right side fairing as seen in photo below.
8. Loosen bolts for right side fairing as seen in photo below.
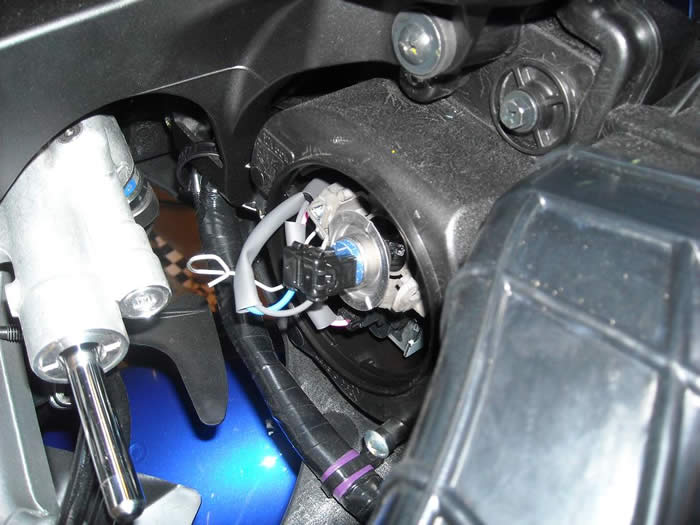
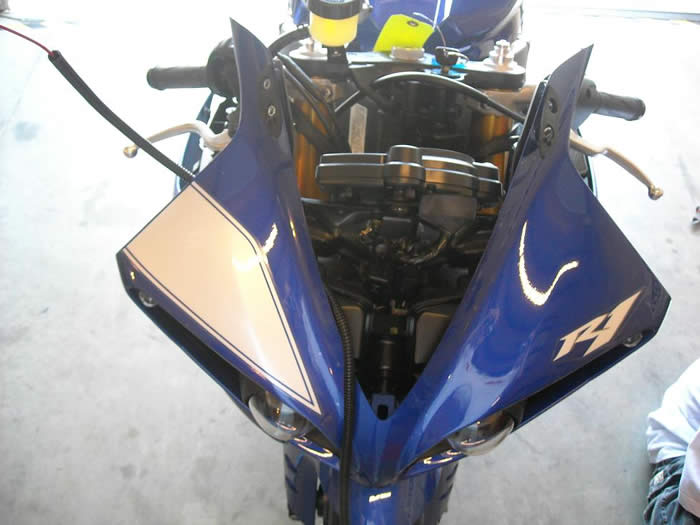
9. Remove dust cap from right and left side headlight housing.
10. Release metal clip and remove left and right side halogen bulb.
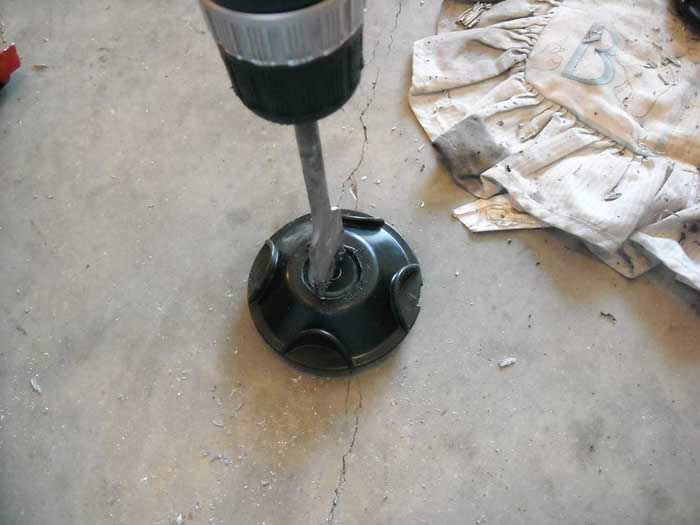
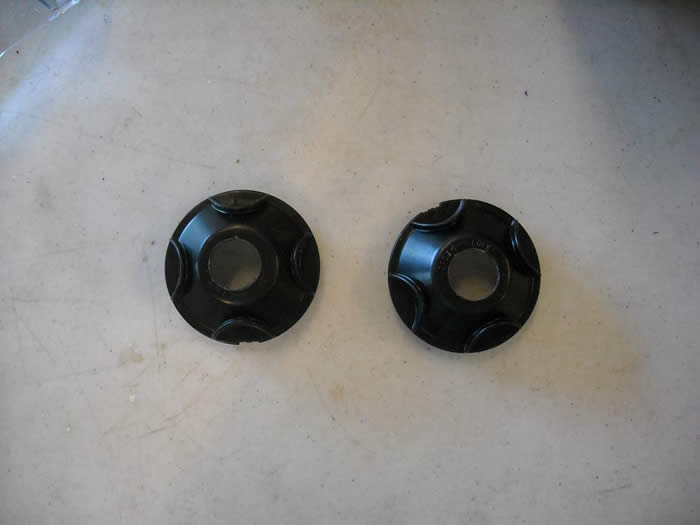
11. Use a 1" drill bit and drill out the center of both dust caps as seen in photos below.
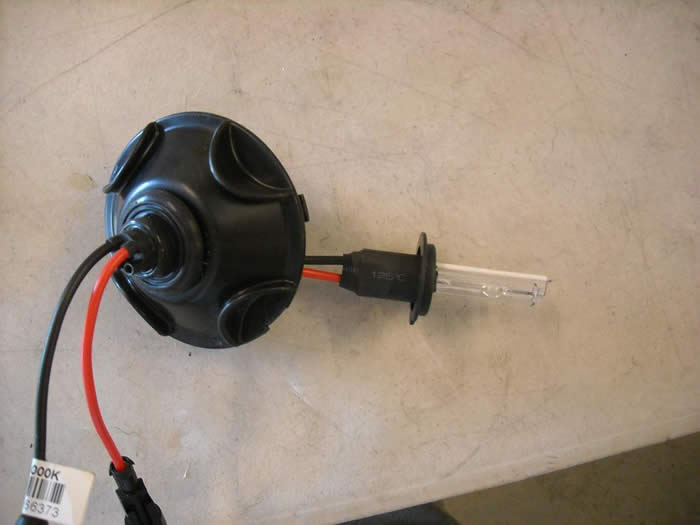
12. Layout both HID bulbs. The bulb with 4 wires is used on the right side. The bulb with 2 wires is used on the left side.
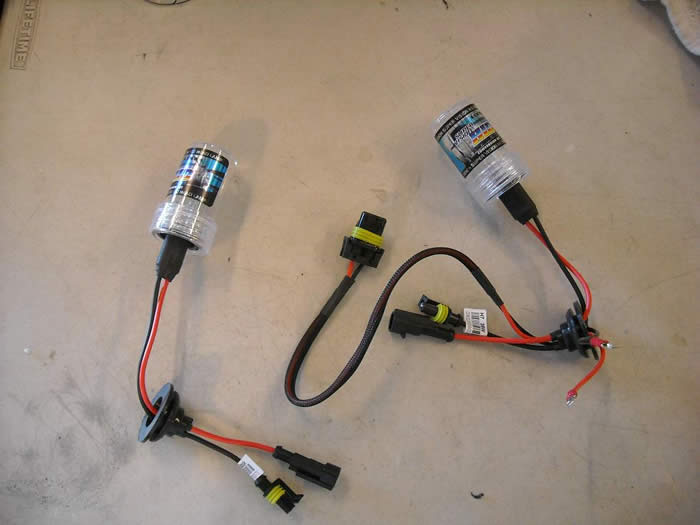
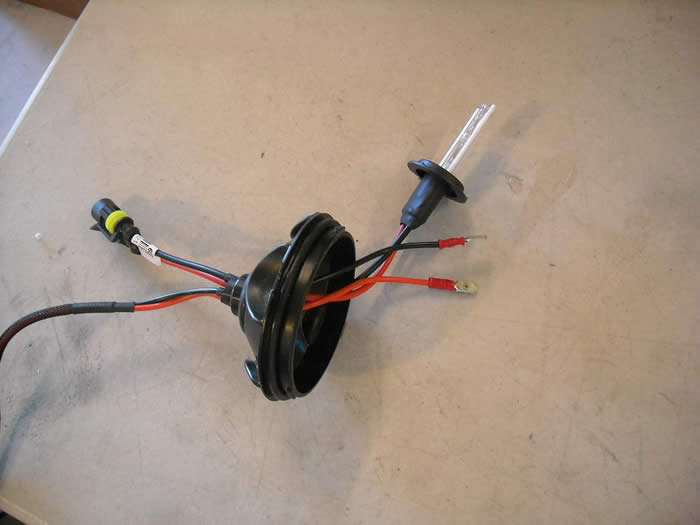
13. Remove both bulbs from the plastic protective housing. Be sure not to touch the glass part of the bulb. If you do, clean with rubbing alcohol before installing. Insert bulbs into dust caps as seen in photos below.
14. Install HID bulb on right side (bulb with 4 wires). Be sure not to touch the glass part of the bulb. If you do, clean with rubbing alcohol before installing.

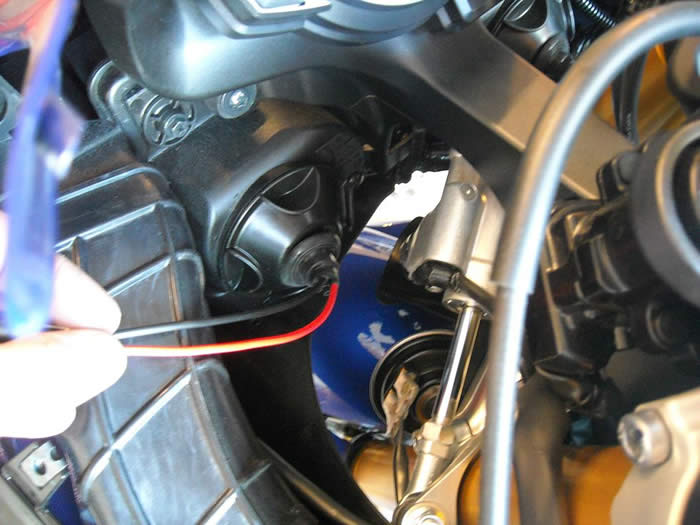
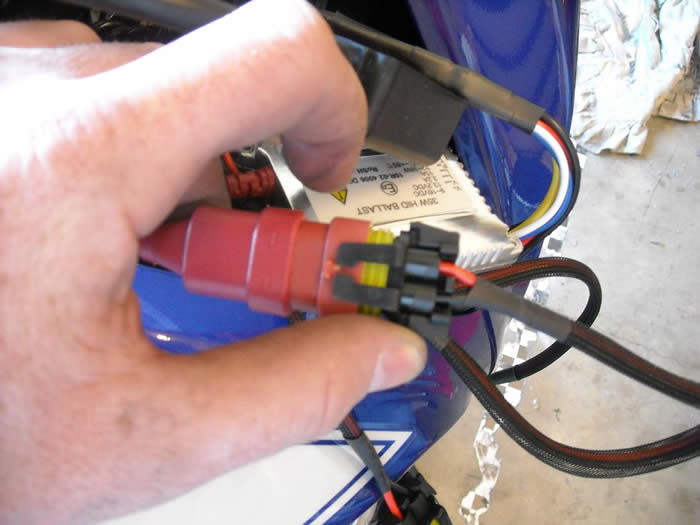
15. Connect wires marked "Positive HL" and "Ground" to the factory headlight plug on the right side. The black wire on the factory headlight plug is ground. See image below.
16. Install right side dust cap. Pull the wires slowly through the grommet to extend. Stop when you feel tension.
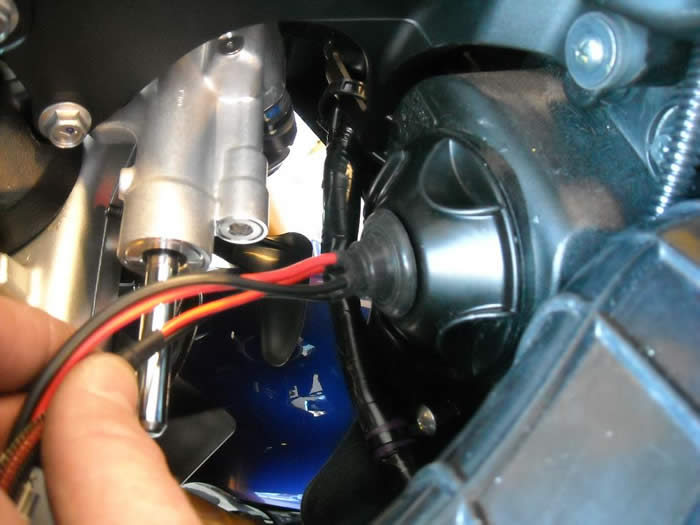
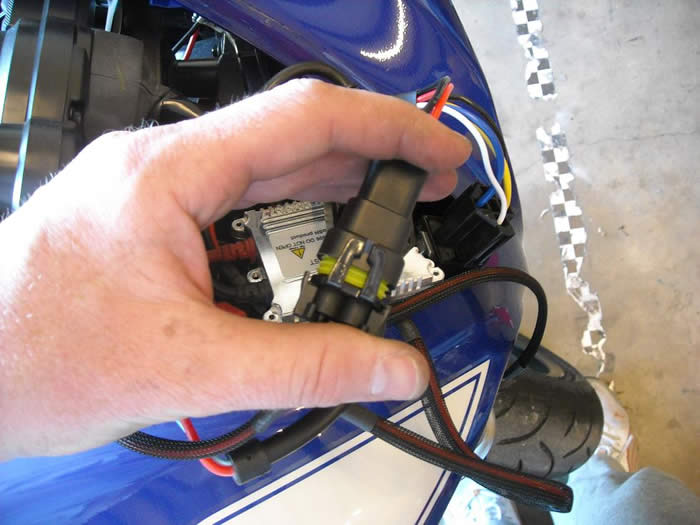
17. Install left side bulb. Be sure not to touch the glass part of the bulb. If you do, clean with rubbing alcohol before installing. Push factory headlight plug into the housing. This plug will not be used. Install dust cap. Pull the wires slowly through the grommet to extend. Stop when you feel tension.

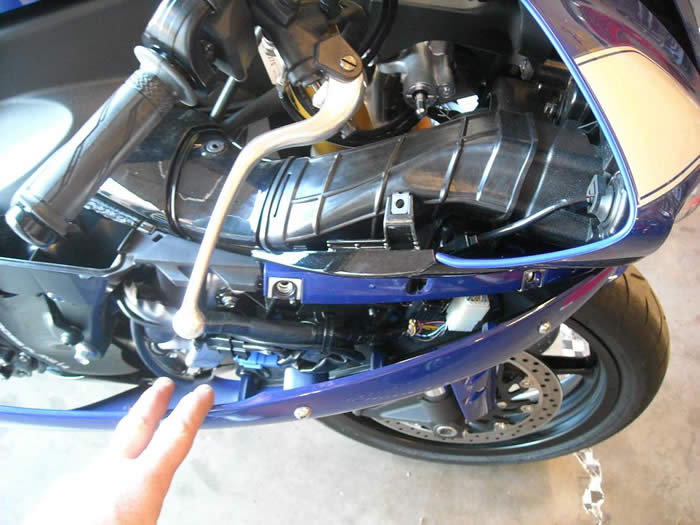
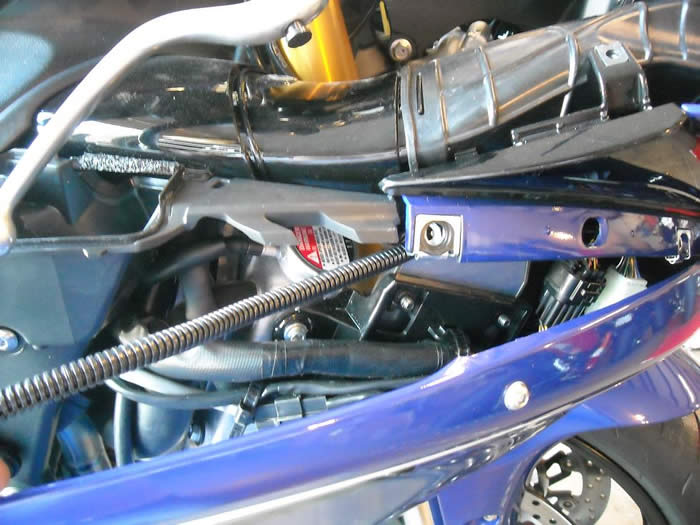
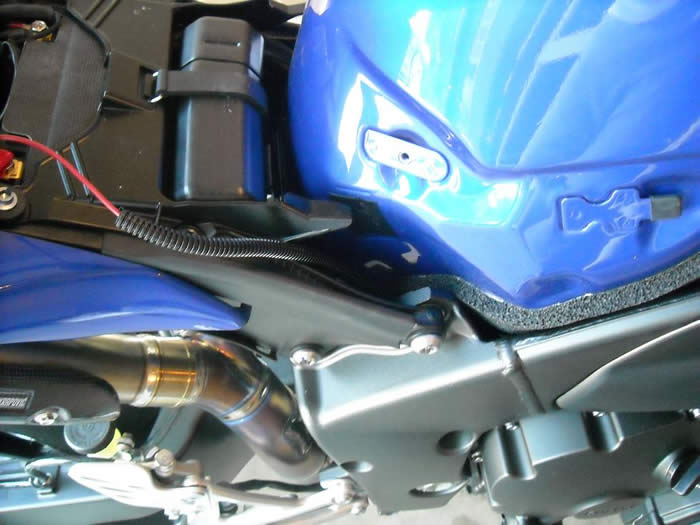
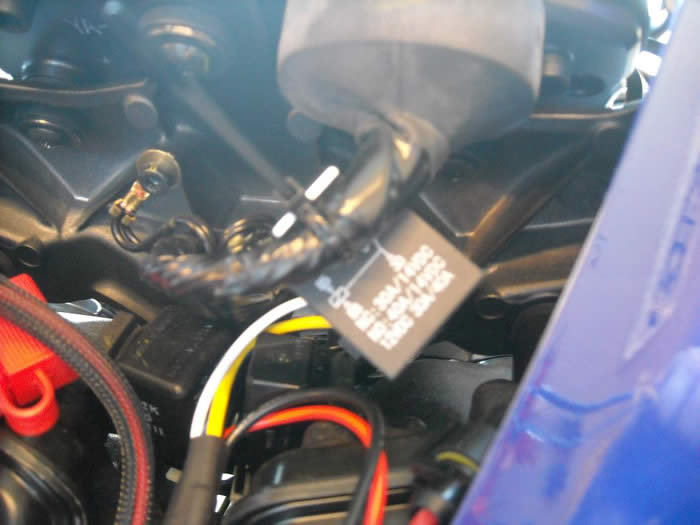
18. Grab wire harness and snake wire marked "Vbatt" through the front end as seen in photo below. Pull Vbatt wire until you have about 1" before the fuse holder is pulled through.
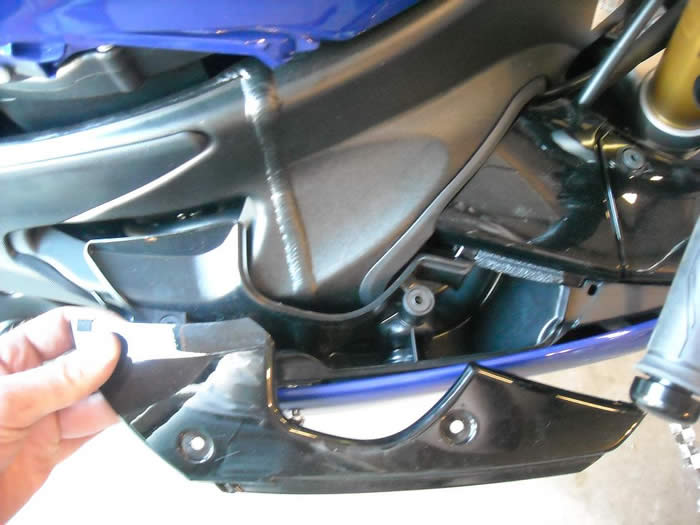
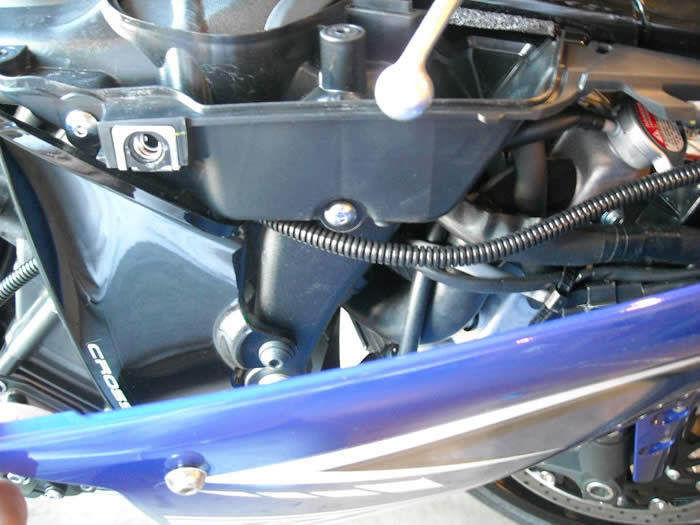
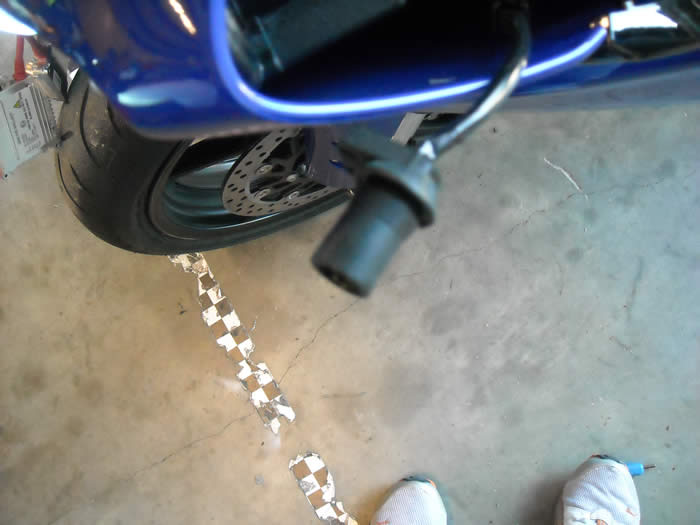
19. Pull Vbatt wire under ram duct through the side fairing as seen in photo below.
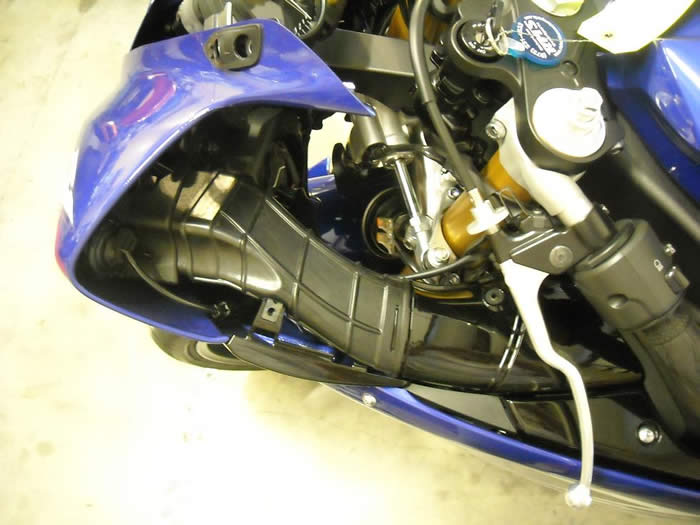
20. Continue to follow the path of the Vbatt as seen in photos below.
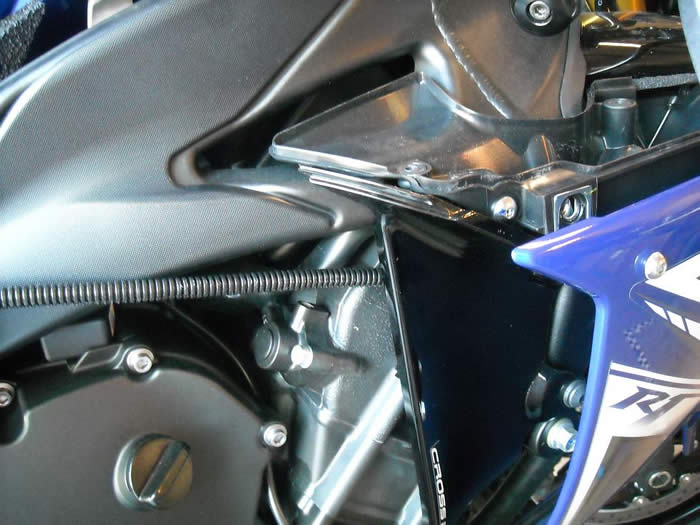
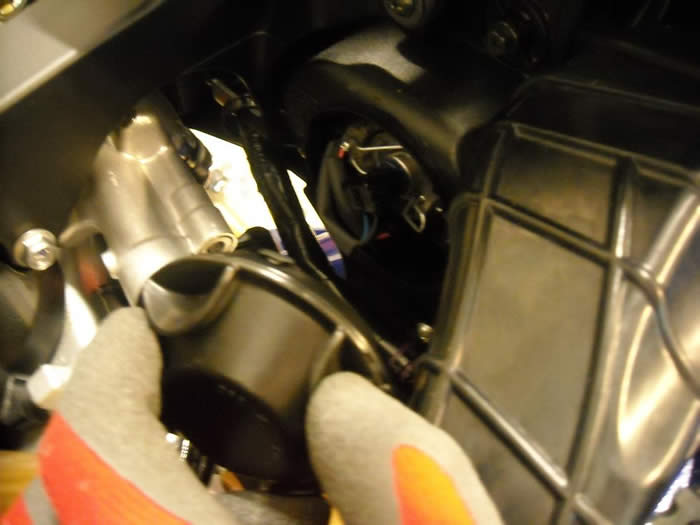
21. Snake wire from HID bulbs to the empty compartment under the windscreen. See photos below.
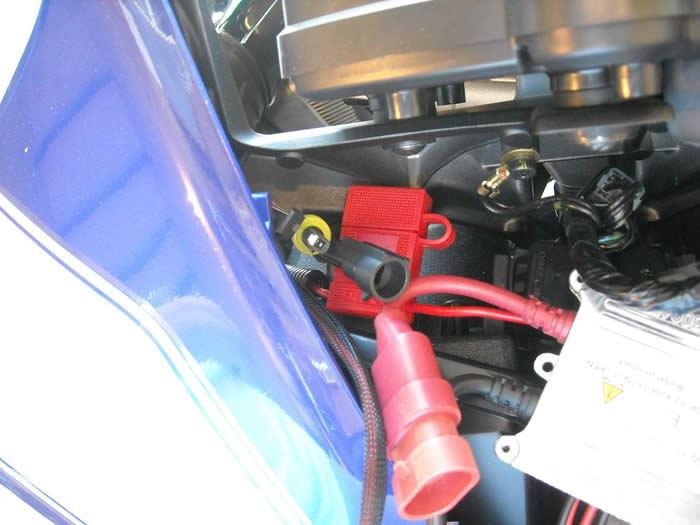
22. Connect both ballast to the HID bulbs.
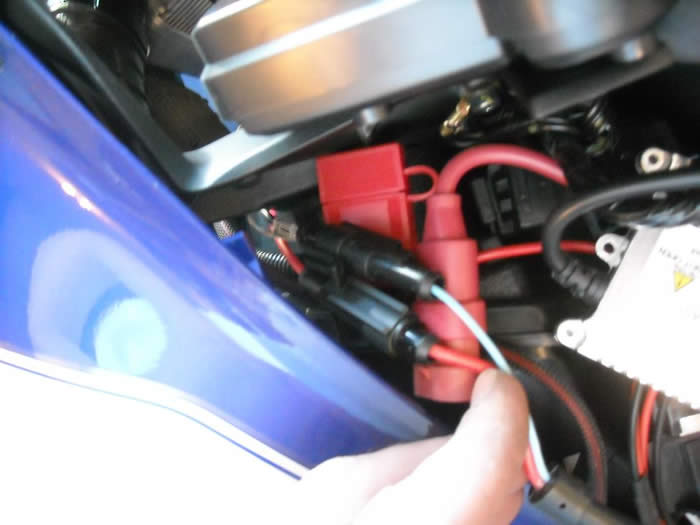
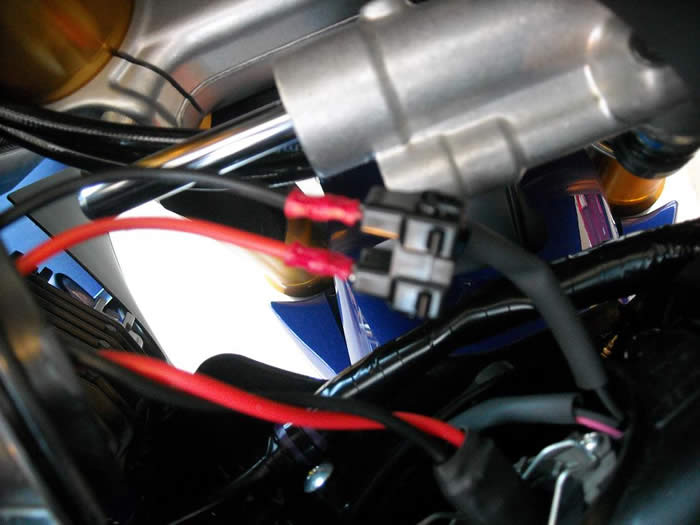
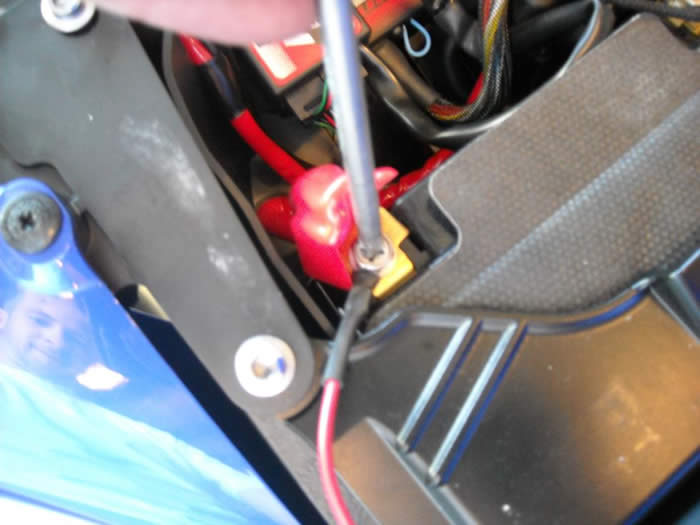
23. Connect power plugs from relay harness to red connector on digital ballast.
24. Connect plugs marked "A" & "B". Be sure to to match up "Red to Red" and "Black to Black".
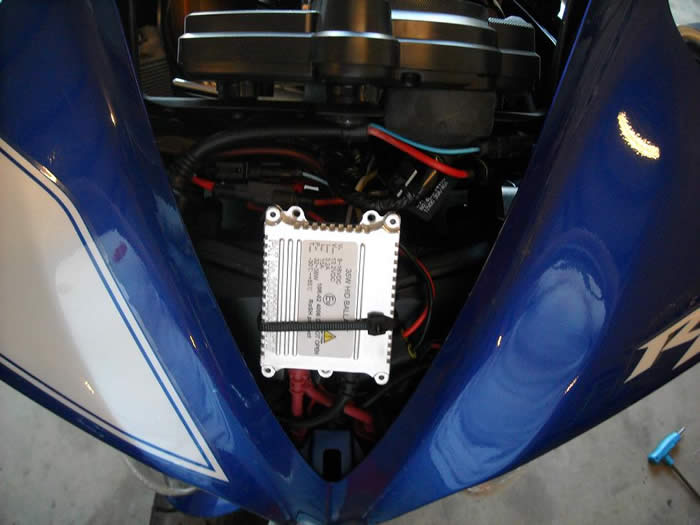
25. Zip tie relay in place as seen in photo below.
26. Tuck all the wires inside the front end and zip tie the ballast in place as see in photo below. It will take some time but everything will fit.
27. Connect wire marked "Vbatt" to the positive side of the battery.
28. Remove both rubber housings for the running lights as seen in photo below.
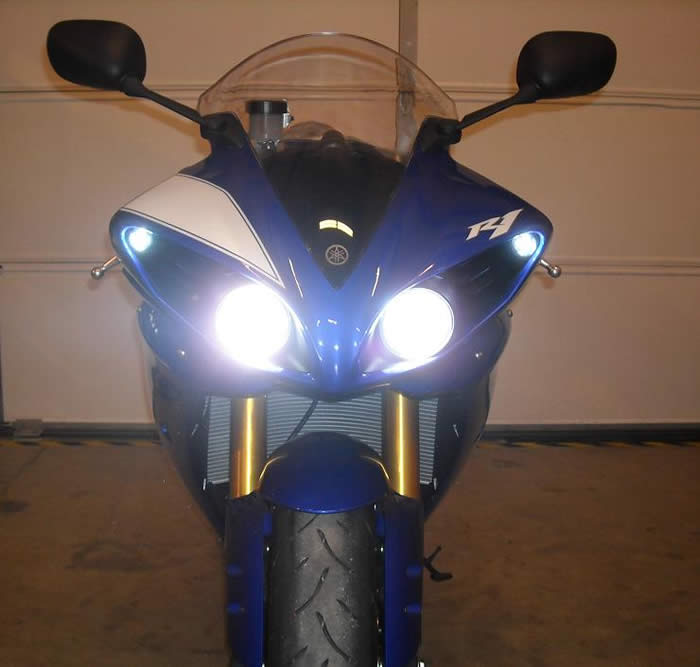
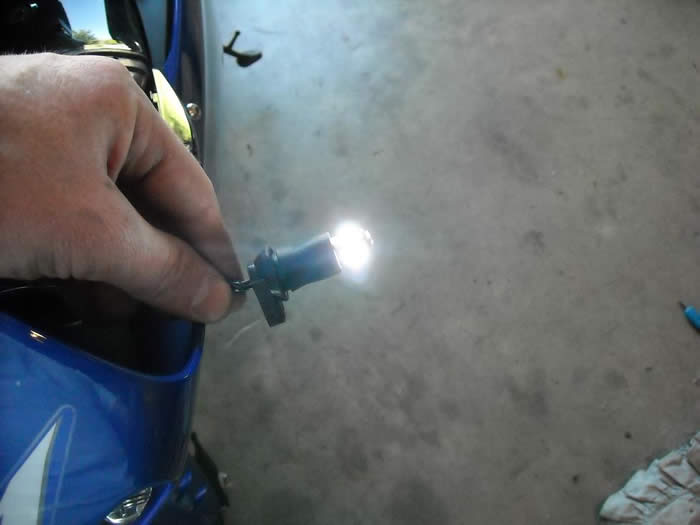
29. Turn on the ignition and install the LED bulbs. If the bulb does not come on, turn the bulb 180 degrees. You have to have the correct polarity.
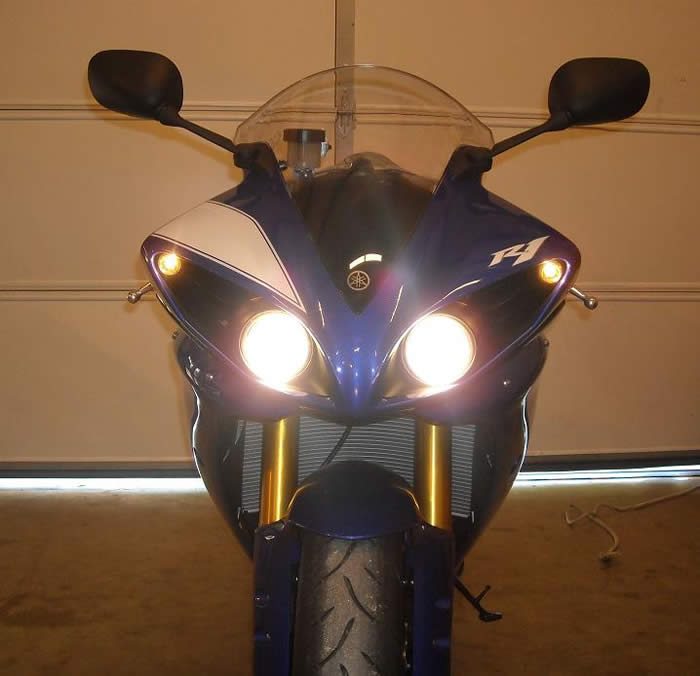
Now Start the bike to verify the lights are workign correctly before installing removed panels.
*Be sure to run you new lights for at least ten minutes the first time you turn them on for proper break in.